Safety Is Key In Building A Four-Cylinder Race Car
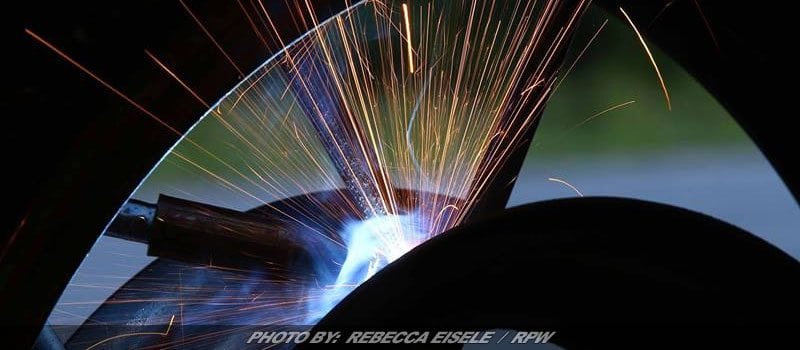

Column By: BRETT HORLACHER / RPW – CLIFTON PARK, NY – Cutting, bending and shaping metal. Making hard steel into a protective unit capable of keeping the driver safe, that is the goal of a roll cage. In this, the third of our five-part series, I will continue to take you on the journey from the grandstands to the cockpit. This is the building of a 4-cylinder race car.
Step 3. Cockpit Safety: Obtaining and installing the roll cage.
Again, Check Your Rules
In this stage of fabrication, it pays to follow the direction given by the track. Having your track’s rules printed out and available for review is still a very good idea.
Before purchasing any items, review the rulebook to ensure that you are going to meet their requirements. This allows you to only buy what you need avoid costly errors.
Shop Safety
Wear safety glasses, especially when hitting/striking/grinding/working where items can fall into your eyes.
Wear gloves when dealing with sharp items and glass. This includes sheet metal.
Do not look at a welding arc without wearing a welding helmet. This can cause flash burns of the eye. I have had them before. They are very painful and usually involve a trip to the ER at 2 o’clock in the morning for evaluation and treatment.
Have a working fire extinguisher available and nearby.
Obtaining the Roll Cage
In the process of obtaining a roll cage, you have a few options. All of them have pros and cons, which I will discuss here.
Option 1: Obtain the raw materials (steel) and build it yourself.
Pros: Cost effective…cage can be customized.
Cons: Requires a high level of skill.
Option 2a: Purchase a new pre-made cage.
Pros: Can be cost effective, time-efficient.
Cons: Cage cannot be customized without alteration.
Option 2b: Purchase a used cage.
Pros: Usually most cost effective, somewhat plentiful.
Cons: Needs to be inspected/evaluated. Cage cannot be customized without alteration.
Option 3: Contract (Hire) a skilled fabricator to build your cage for you.
Pros: Cage is built by a skilled person, usually time-efficient.
Cons: Higher cost, usually requires the car be transported to their shop.
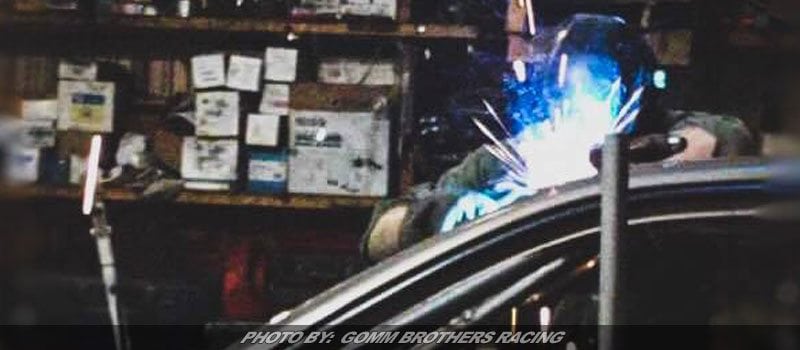 Disclaimer: If you do not know how to weld, and how to weld well, building the piece of equipment that will keep you safe from a full force hit into a concrete wall, or from another competitor is not the time to learn.
Purchasing your own steel can be a very expensive endeavor. There’s plenty of information online to use in the process of purchasing steel to ensure that you get what you need the first time and do not significantly over purchase. Review your rules to ensure you purchase the correct materials.
Buying a pre-fabricated cage is a time efficient move, and the kits are relatively inexpensive. However, you only get what they send you. You may have to purchase more steel to complete the cage. Do your homework and measure your car.
Obtaining a used roll cage can be a difficult process. You can search various swap sites, but when it comes to safety items, my advice is that the buyer be aware.
When it comes to used roll cages, they can sometimes (somewhat rare) be found in excellent condition, but more often they are found in various states of disrepair or with damage. However, some of the damage found is mostly cosmetic and can be repaired somewhat easily.
The biggest things to look for in a used cage are as follows:
1. General shape (has it been hit, and if so, hit hard?)
2. Condition (is it covered in rust and therefore its strength compromised?)
3. Fitment, i.e. will fit in your car, and/or is it tall enough. Measure your car, write it all down.
When inspecting a used cage, bring a tape measure and a small hammer with you. Use the hammer to hit the cage on all surfaces (light-medium force) to see if it the cage is rusted. Good steel has a ring. Bad (rusted) steel will sound dull. If it is heavily corroded, it may break.
If you purchase a used cage, install any required gussets and make the repairs before you place it into the car. Ensure that you prime and paint the cage after your repairs are complete. All these little things add up to less maintenance later.
Installing the cage
There are several methods of installing a roll cage. Check your track’s rules to ensure that you are installing your cage in a manner that is within their expectations.
The best method is to build the cage from scratch in the car without cutting or altering the body/chassis. This allows the car to retain the most strength from its original construction, and the cage itself adds to the car’s strength and rigidity. However, this method is considered the most difficult because you are assembling at least some of the cage itself inside the confines of the vehicle. This usually requires an experienced fabricator/welder.
Other methods involve the cutting and removal of the roof of the car and placing the cage in from the top, or cutting the ‘B’ pillar and sliding the cage into the car. Both of these methods reduce the car’s strength, but if you have a pre-made cage it may be your only method without cutting the cage and re-assembling it inside the car.
When attaching the cage to the car itself, your track’s rules will dictate how that attachment should be performed. Most professional tracks require that a plate be welded to the chassis or the plate welded and bolted. The plate must usually be welded to the rockers at a minimum due to the uni-body construction of FWD sedans. Once again, review your track rules.
Additional Disclaimer: The process of welding the cage to the car can be a difficult one. If you are not a skilled welder, having one perform the welding for you is a great idea. In this case, you should ask to do at least one of the welds after watching (with a welding helmet) and learning how to do it yourself.
Racing seat and harness (belts)
Review your rules and install your racing seat and harness. In this racer’s personal opinion, if the rules require the seat and belts to be attached with anything less than a Grade 8 bolt, ignore the rule’s minimum while using the appropriate sized Grade 8 bolt. These bolts are the only things keeping you inside the confines of the vehicle in the event of a crash or rollover. Saving a few dollars isn’t worth it in the long run.
Your seat matters. There are a ton of used seats out there. Measure your seat by sitting on a flat surface and placing a book or flat object that will not move against your hips. After both books have been put in place, stand up ensuring they do not move. Measure the distance between the two, and that is your required seat ‘size.’ Seats are usually 14.5 inches wide to 18 inches wide, increasing in ½ inch increments. Purchase your seat by rounding up to the next ½ inch increment. When you put on your fire suit and protective underwear you’ll take up more space.
Avoid purchasing used belts. Belts degrade over time and are usually required to be changed out when they exceed 36 months from their date of manufacture. Check your rules and purchase a set of belts that will meet those requirements. Install your belts in accordance with your track’s rules and the manufacturer’s guidelines. If they differ, contact your head tech official, or defer to the manufacturer’s guidelines, also if you defer from the track’s rules bring the manufacturer’s guidelines to tech inspection with you to show why you installed the belts in the manner you did.
Safety is paramount. As a driver, if you know that you are strapped into a well-built car that will keep you safe if you get in trouble, you can focus more on passing the person in front of you. The roll cage, seat and belts are the largest components in protecting you if things go wrong, (which in racing is always a distinct possibility).
Up next…setting up your car to go tackle the track.


